How to Fix Scratches on RV

Ah, the open road! The freedom of the RV lifestyle is unparalleled. But with every adventure, there's the inevitable wear and tear. Picture this: You've just returned from a fantastic road trip, only to find that a rogue tree branch has left its mark on your beloved RV. Scratches! The bane of every RVer or van lifer. But fear not, fellow road warriors, for there's a solution to this common problem.
Every seasoned RVer knows that scratches and scuffs are part and parcel of the journey. Whether it's from a tight parking spot, an unexpected brush with nature, or just the passage of time, these blemishes can be a sore sight on your mobile home. But thanks to the wonders of modern DIY and a helpful guide from RVstreet, there's hope for us yet.
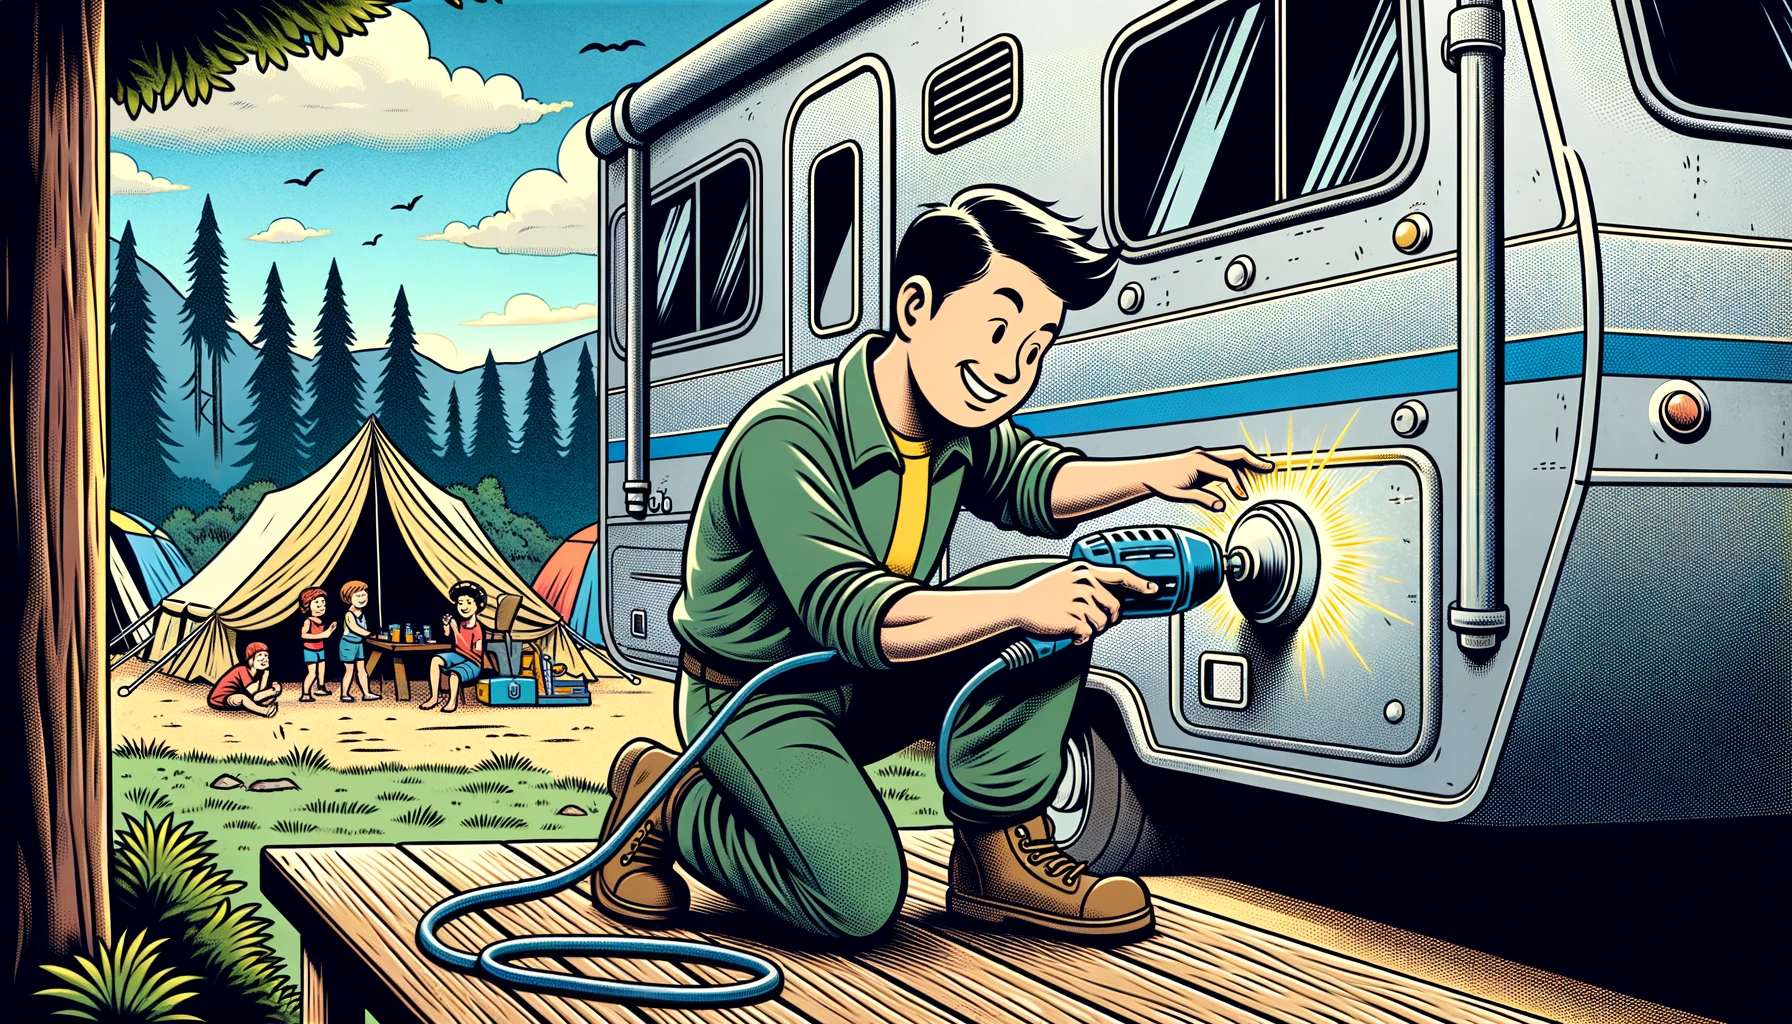
Choosing the right tools is paramount when addressing RV scratches. A dual-action polisher, like the one from McGuire's, offers an oscillating action that ensures even application and minimizes surface damage. Depending on the scratch's depth, you might opt for a light polish or a more aggressive compound. For instance, McGuire's clear coat safe rubbing compound works wonders for superficial blemishes, while deeper scratches might require the diamond cut compound.
The process begins with cleaning the affected area with a wet cloth to eliminate surface dust. Next, apply the chosen compound or polish to the pad, smear it on the scratch, and start the polisher at a slow speed, letting the tool do the work rather than applying excessive pressure. After polishing, a quick wipe with a wet cloth helps assess the progress. Persistent scratches might necessitate a stronger compound. Once satisfied, a protective coat, like Rejex, can be applied to shield against future wear and UV damage.

While it might seem like a straightforward task, there are a few sneaky pitfalls that even the most seasoned road warriors might stumble upon. What are some of the problems to watch out for?
- Over-Polishing: Enthusiasm is great, but overdoing the polishing can wear down the clear coat, leaving your RV more vulnerable to future scratches and UV damage. Remember, moderation is key!
- Wrong Tools: Using a standard orbital sander instead of a dual-action polisher? That's like using a sledgehammer for a thumbtack! The wrong tools can cause more harm than good.
- Skipping the Test Patch: Always, and I mean always, test a small, inconspicuous area before going all out. This ensures the compound or polish you're using won't cause further damage.
- Impatience: Rushing the process can lead to uneven results. Take your time, enjoy some tunes, and let the polisher work its magic.
- Not Cleaning Properly: Jumping straight into polishing without cleaning can grind dirt and debris into the paint, leading to more scratches. It's like trying to wash your hands with gloves on!
Fixing scratches on your RV isn't just about aesthetics; it's about preserving memories and ensuring many more adventures to come. With the right tools and a bit of patience, you can restore your RV to its former glory. So, fellow RVers, have you faced similar challenges? How did you tackle them? Share your stories and tips in the comments below!